
はじめに
こんにちは、シルです。
前回の続きです。
前回の記事:Python①:概要を学ぶ
今回は、簡単なTODOアプリを作成してみます。
アプリを作成する
必要なツールをインストールする
今回使用するツールは、以下のとおりです。
- Homebrew(macOS用パッケージマネージャー)
- Python
- MySQL
- VSCode
①Homebrewのインストール
ターミナルを開き、以下のコマンドを実行してHomebrewをインストールします。
/bin/bash -c "$(curl -fsSL https://raw.githubusercontent.com/Homebrew/install/HEAD/install.sh)"②Pythonのインストール
Homebrewを使用してPythonをインストールします。
brew install python③MySQLのインストール
MySQLをインストールします。
brew install mysql④VSCodeのインストール
VSCodeの公式サイトからVSCodeをダウンロードしてインストールします。
Webアプリケーションを作成する
①プロジェクトディレクトリの作成
以下のコマンドを実行し、適当な場所にプロジェクトディレクトリを作成します。
・「todo_app」というフォルダを作成
mkdir todo_app・作成した「todo_app」フォルダに移動
cd todo_app②仮想環境の作成と有効化
Pythonの仮想環境を作成し、有効化します。
・Pythonの仮想環境を作成
python3 -m venv venvsource venv/bin/activate③Flaskのインストール
FlaskとmysqlとPythonを繋げるモジュールをインストールします。
pip install flask mysql-connector-python④Flaskアプリケーションの作成
以下の内容でapp.pyファイルを作成します。
from flask import Flask, render_template, request, redirect, url_for
import mysql.connector

app = Flask(__name__)

# MySQLの接続設定
db = mysql.connector.connect(
    host="localhost",
    user="root",
    password="your_password",
    database="todo_db"
)

@app.route('/')
def index():
    cursor = db.cursor(dictionary=True)
    cursor.execute("SELECT * FROM todos")
    todos = cursor.fetchall()
    return render_template('index.html', todos=todos)

@app.route('/add', methods=['POST'])
def add():
    todo = request.form.get('todo')
    cursor = db.cursor()
    cursor.execute("INSERT INTO todos (task) VALUES (%s)", (todo,))
    db.commit()
    return redirect(url_for('index'))

@app.route('/update/<int:id>', methods=['GET', 'POST'])
def update(id):
    cursor = db.cursor(dictionary=True)

    if request.method == 'POST':
        new_task = request.form.get('task')
        cursor.execute("UPDATE todos SET task = %s WHERE id = %s", (new_task, id))
        db.commit()
        return redirect(url_for('index'))

    cursor.execute("SELECT * FROM todos WHERE id = %s", (id,))
    todo = cursor.fetchone()
    return render_template('update.html', todo=todo)

@app.route('/delete/<int:id>', methods=['GET', 'POST'])
def delete(id):
    cursor = db.cursor()
    cursor.execute("DELETE FROM todos WHERE id = %s", (id,))
    db.commit()
    return redirect(url_for('index'))

if __name__ == '__main__':
    app.run(debug=True)
⑤データベースとテーブルの作成
MySQLにログインします。
mysql -u root -p「todo_db」というデータベースを作成します。
CREATE DATABASE todo_db;作成したデータベースを選択します。
USE todo_db;「todos」テーブルを作成します。
CREATE TABLE todos (
    id INT AUTO_INCREMENT PRIMARY KEY,
    task VARCHAR(255) NOT NULL
);
⑥テンプレートの作成
「templates」フォルダを作成し、以下の内容で「index.html」ファイルを作成します。
<!DOCTYPE html>
<html lang="ja">

<head>
  <meta charset="UTF-8">
  <meta http-equiv="X-UA-Compatible" content="IE=edge">
  <meta name="viewport" content="width=device-width, initial-scale=1.0">
  <title>Todo List</title>
</head>

<body>
  <h1>Todo List</h1>
  <form action="{{ url_for('add') }}" method="post">
    <input type="text" name="todo" placeholder="Add new task" required>
    <input type="submit" value="Add">
  </form>

  <ul>
    {% for todo in todos %}
    <li>
      {{ todo['task'] }}
      <a href="{{ url_for('update', id=todo['id']) }}">Edit</a>
      <a href="{{ url_for('delete', id=todo['id']) }}">Delete</a>
    </li>
    {% endfor %}
  </ul>
</body>

</html> 同じく「templates」フォルダに、以下の内容で「update.html」ファイルを作成します。
<!DOCTYPE html>
<html lang="ja">

<head>
  <meta charset="UTF-8">
  <meta http-equiv="X-UA-Compatible" content="IE=edge">
  <meta name="viewport" content="width=device-width, initial-scale=1.0">
  <title>Update Task</title>
</head>

<body>
  <h1>Update Task</h1>
  <form action="{{ url_for('update', id=todo['id']) }}" method="post">
    <input type="text" name="task" value="{{ todo['task'] }}" required>
    <input type="submit" value="Update">
  </form>
</body>

</html>
⑦アプリケーションの実行
以下のコマンドでアプリケーションを実行します。
python app.py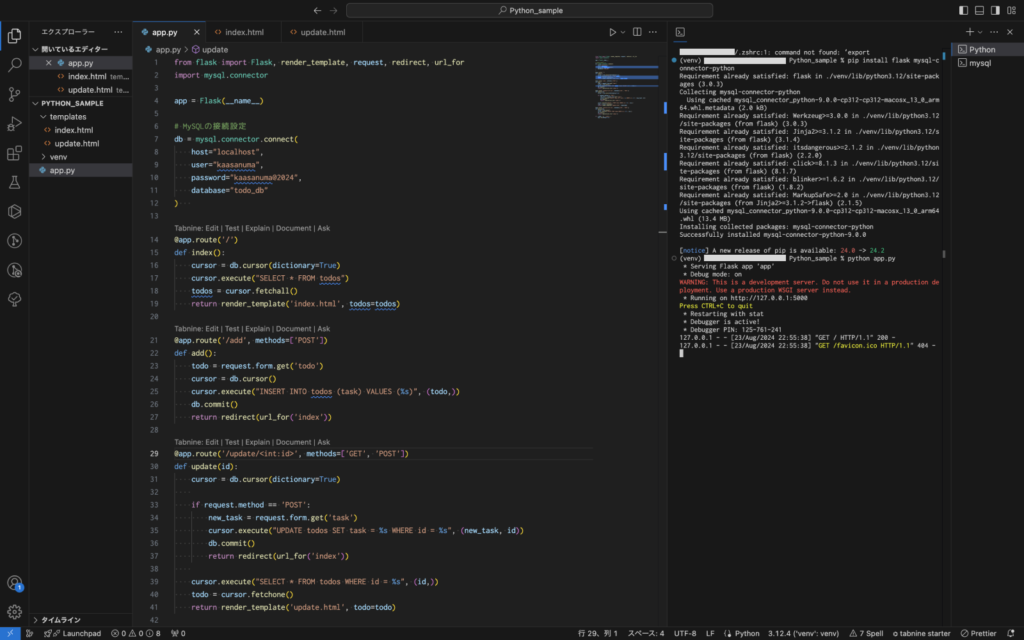
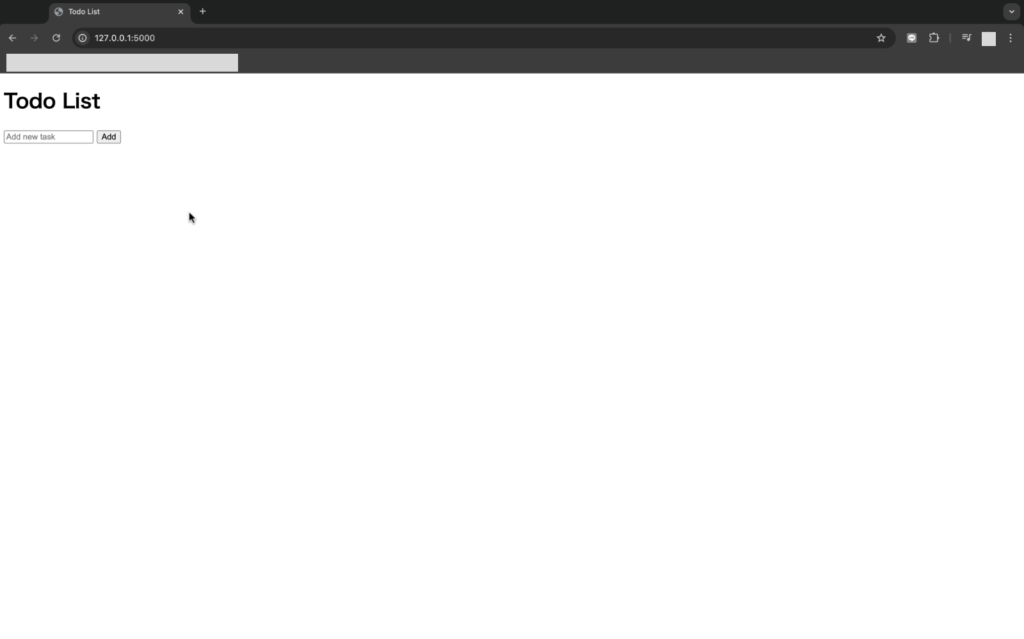
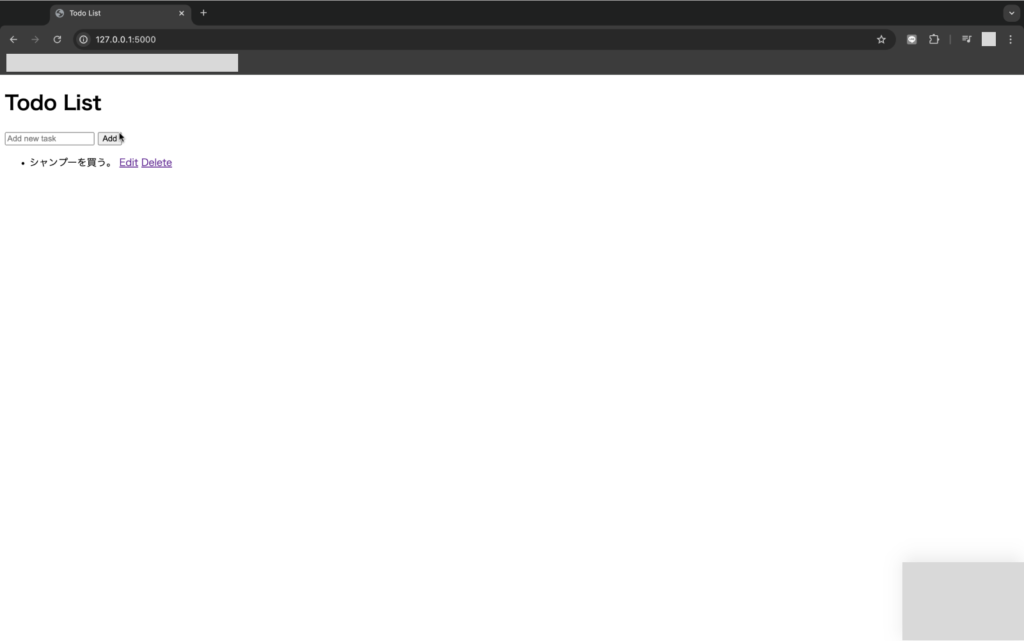
⑧ブラウザのアドレスバーに「http://127.0.0.1:5000」を入力し、アクセスすると、Todoリストの画面が表示されます。
動作確認
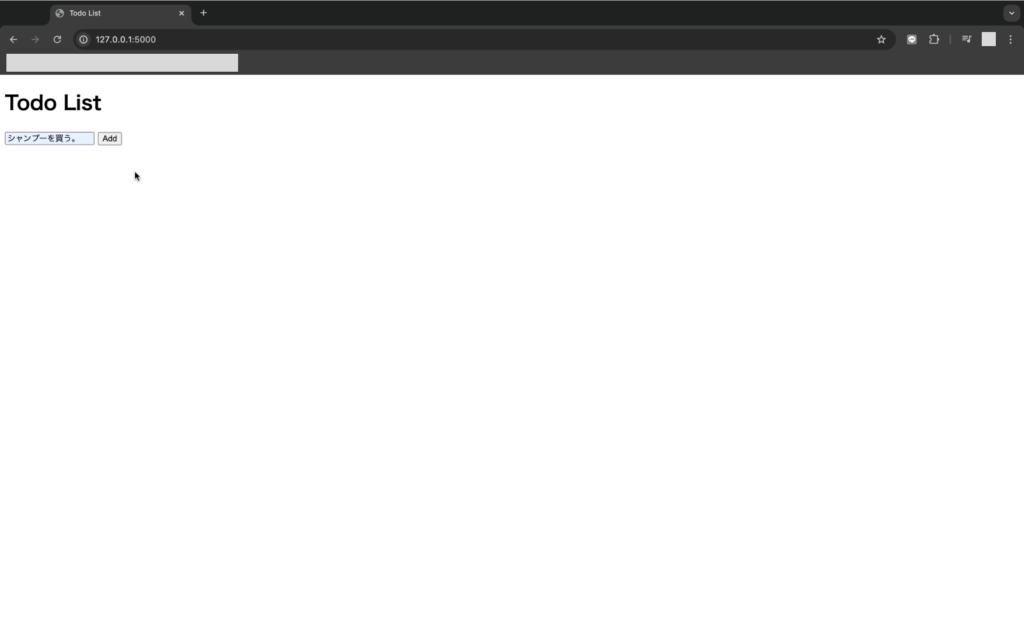
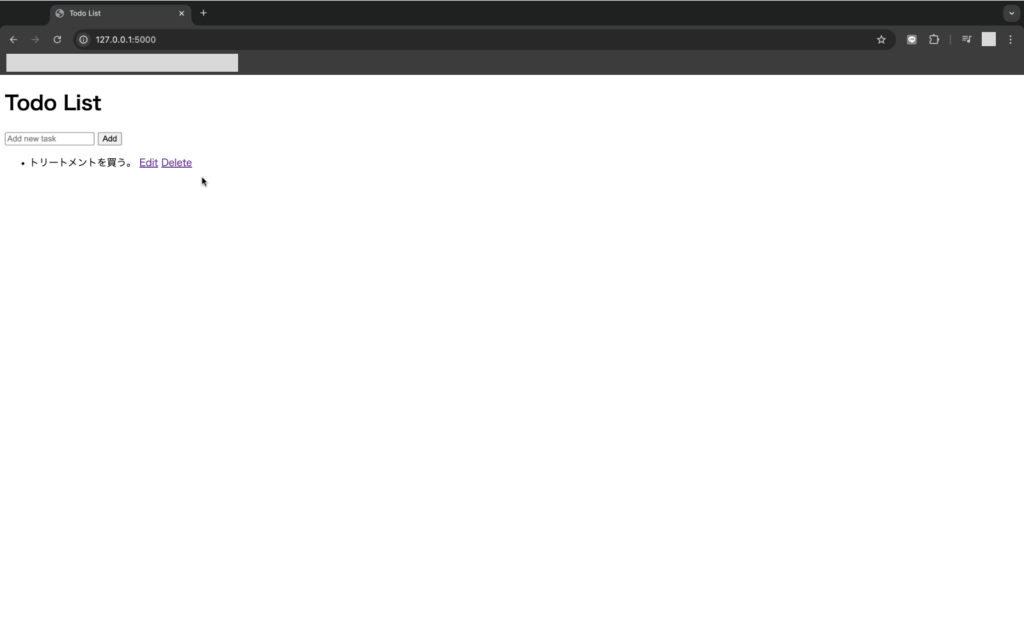
①入力欄に追加したいタスクを入力し、「Add」ボタンをクリックします。
②入力したタスクが画面に表示されました。
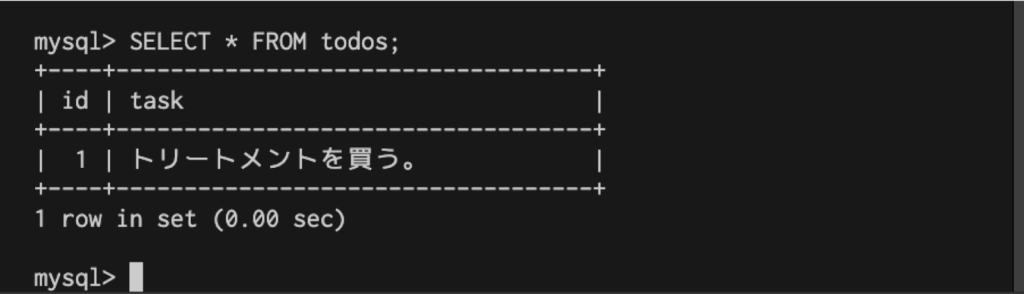
③以下のSQLを実行し、テーブルにデータが登録されていることを確認してみます。
登録されていることが確認できます。
SELECT * FROM todos;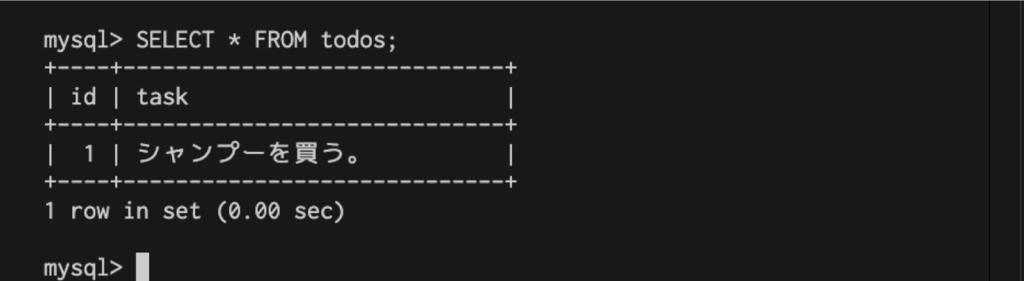
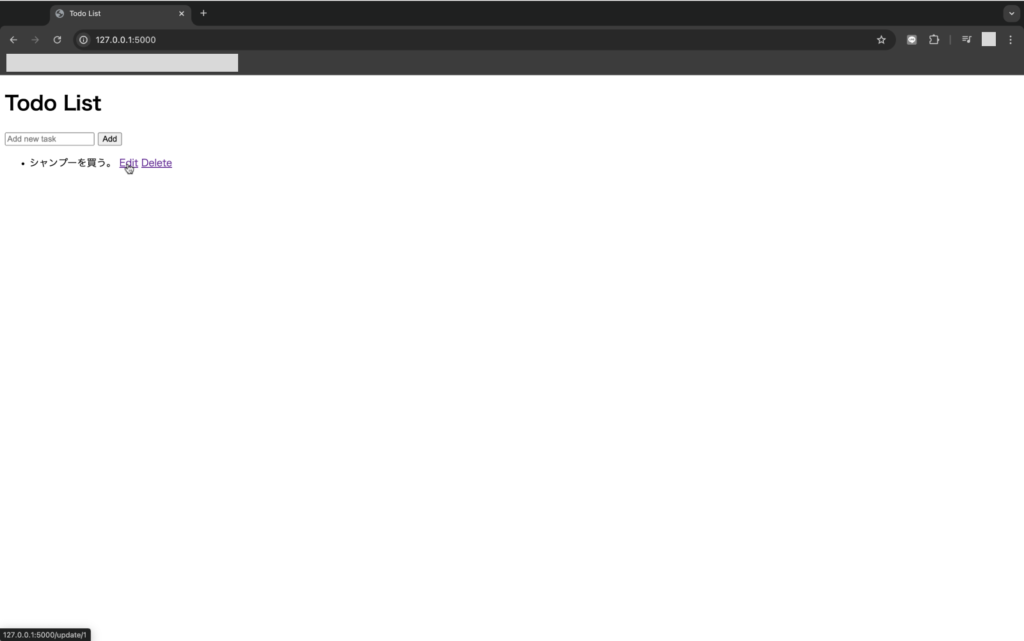
④画面に戻り「edit」リンクをクリックし、編集画面に遷移します。
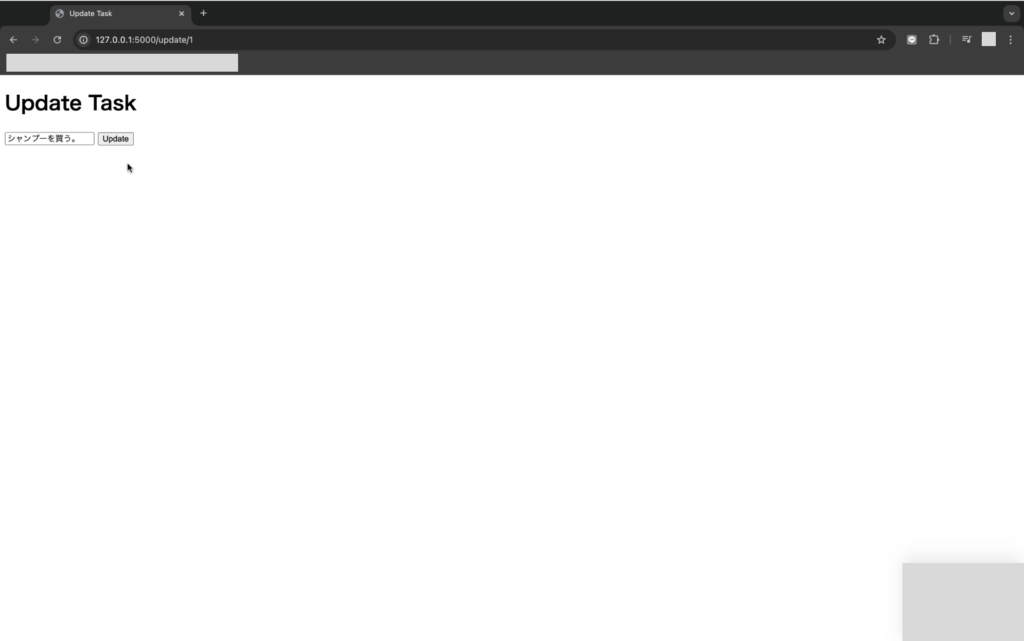
⑤タスクの内容を変更し、「update」ボタンをクリックします。
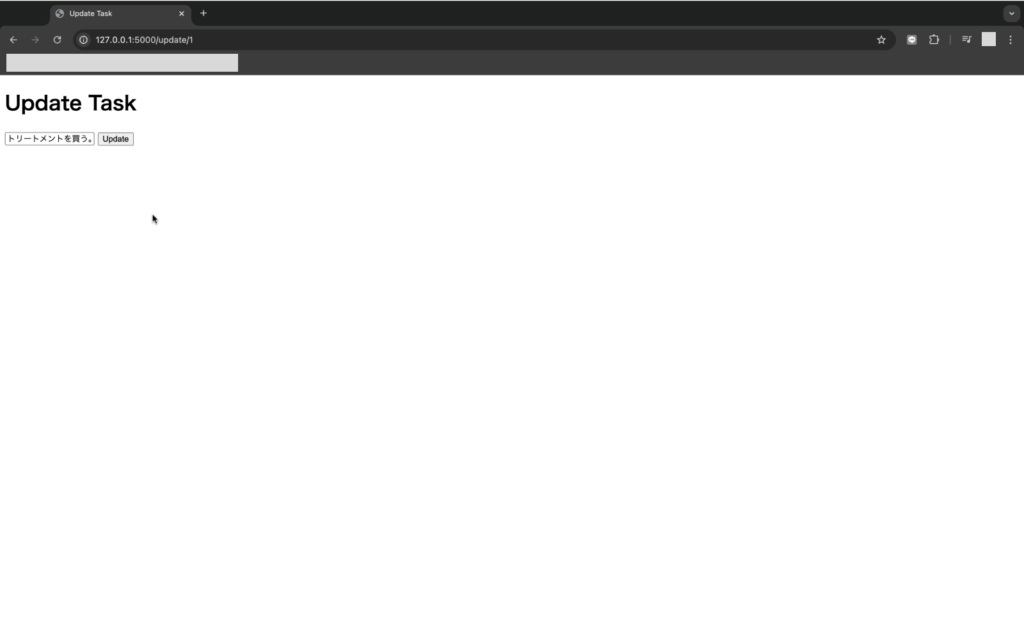
⑥タスク一覧画面に戻り、タスクの内容が更新されていることが確認できます。

⑦再度SQLを実行し、テーブルにデータが更新されていることを確認してみます。
⑧「delete」ボタンをクリックするとタスクが削除されます。
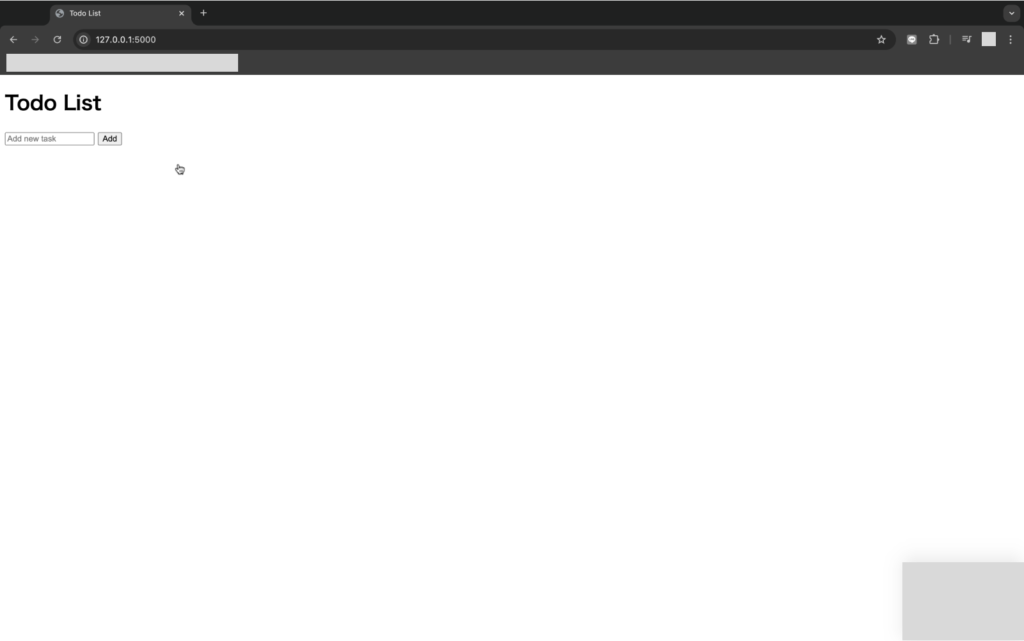
⑨再度SQLを実行し、テーブルからデータが削除されていることを確認してみます。


コメント